Last updated: May 15, 2026
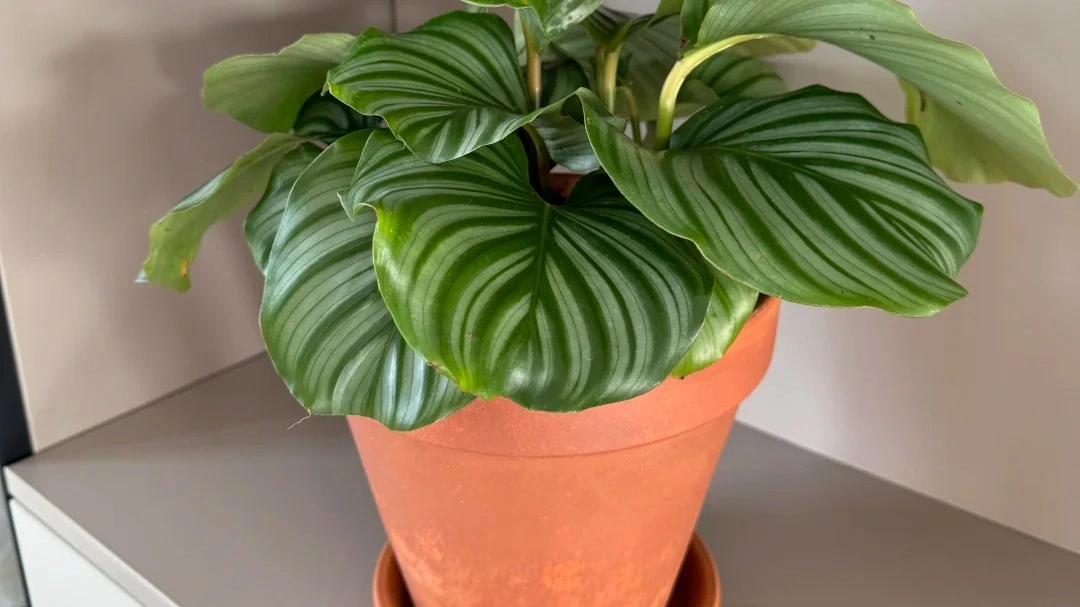
Calathea Ornata, or Pinstripe Calathea, is one of those plants that looks expensive even when it is struggling. The dark leaves and thin pink lines are beautiful, but in a normal home, this plant can go downhill quietly if the roots stay wet, the air is still, or pests are left unchecked.
The Ornata in this guide was not a perfect nursery plant. I brought it home as a rescue with drooping leaves, visible pest damage, and very little confidence that it would bounce back. What helped was not one magic product. It was a slow reset: cleaning the leaves, removing badly damaged growth, repotting, giving it steady light, and improving airflow.
So this is not just a general Pinstripe Calathea care guide. It is also a recovery story — what I did, what changed, and what I would check first if your Calathea Ornata is losing leaves, fading, curling, or refusing to grow.
If you are comparing this plant with other prayer plants, my Calathea types guide is a better place to compare leaf shape, difficulty, and indoor care differences.
How I Brought a “Rescued” Pinstripe Calathea Back to Life

I did not buy this Calathea ornata as a perfect display plant. I picked it up as a rescue, and at the beginning I honestly was not sure whether it would recover.
The plant had pest damage, drooping leaves, and that tired look Calatheas get when they have been stressed for a while. Instead of trying to make it look good immediately, I treated the first few weeks as a reset period.
My Timeline (From “Almost Gone” to Growing Again)
- March 2 — Rescued it. Pests + limp, damaged foliage.
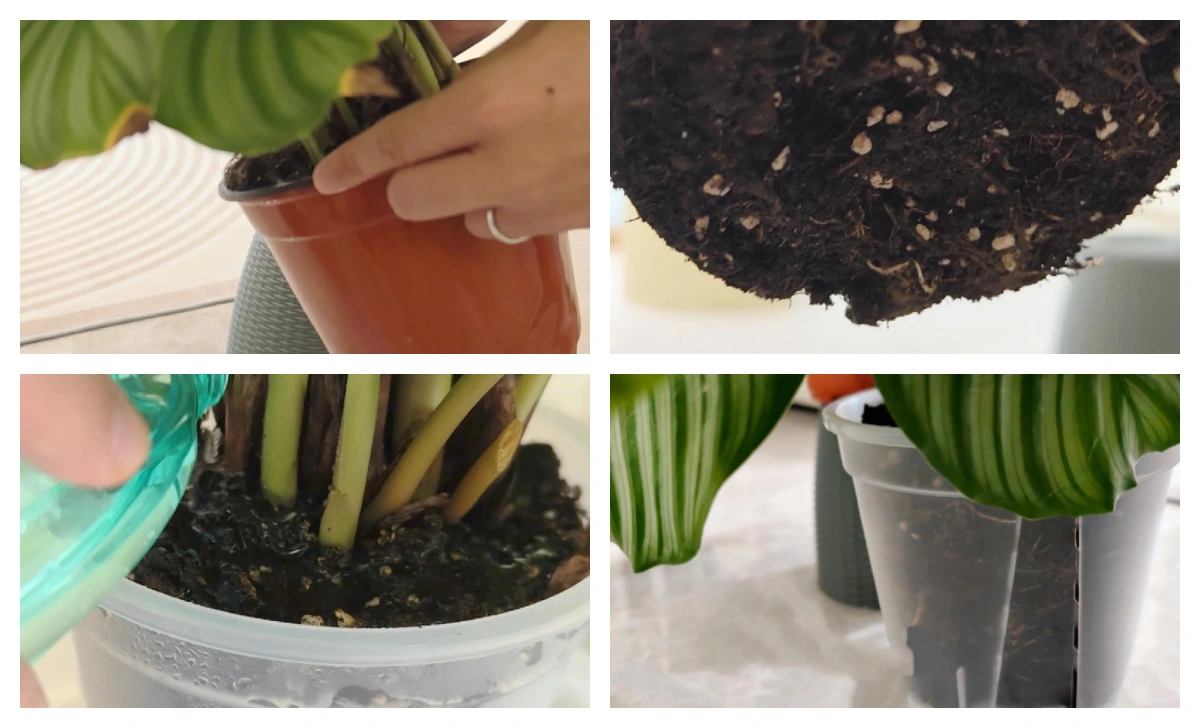
- March 10 — Repotted (fresh soil, cleaned up the plant).
- March 28 — Saw the first real sign of recovery: two new leaves starting.
- May 29 — It was thriving again — fuller, upright, and actively pushing growth.
What I Did (And What Actually Worked)

At first, I did not fertilize at all. The plant already looked stressed, and I did not want to add fertilizer to a root system that might not be working properly yet.
For the first stage, I kept the care very basic:
- I kept it near a north-facing window with soft, indirect light
- I rinsed the leaves every 2–3 days to physically remove lingering pests
- I watered about once a week in early spring, because the room was still cool
- I poured away any water sitting in the saucer right away
- I removed leaves that were badly damaged, curled, or no longer useful to the plant
Only after the plant looked stable and I no longer saw active pest pressure did I start feeding. From April onward, I used very diluted fertilizer water. That was when the recovery became obvious: new shoots, cleaner leaves, and a plant that finally looked like it was moving forward instead of just surviving.
The One Thing I Would Not Skip: Airflow

If I had to choose one factor that made the biggest difference, I would choose airflow. Not strong wind, not a fan blasting the leaves, but steady air movement around the plant.
Good airflow helped the leaves dry after rinsing, kept the pot from staying damp for too long, and made the plant feel less stagnant after repotting. In this case, airflow mattered more than chasing a perfect humidity number.
For this rescue, the combination that worked was simple: soft light, careful watering, repeated leaf rinsing, damaged-leaf removal, and real airflow. None of those steps looked dramatic on their own, but together they gave the plant enough stability to start growing again.
What Mattered Most During Recovery
During recovery, I did not try to create a perfect rainforest setup. I cared more about making the plant stable enough to grow again.
- Soft light: Bright indirect light was enough. I avoided direct sun because stressed leaves mark easily.
- Warmth: I kept it away from cold windows and sudden temperature swings.
- Airflow: This was more important than I expected, especially after rinsing leaves for pest control.
- Moist but airy soil: The plant needed moisture, but not a pot that stayed wet and heavy.
- No early fertilizer: I waited until the plant was actively recovering before feeding.
If your main issue is placement, my Calathea light requirements guide can help you choose a better spot indoors.
Detailed Care Guide
Watering
I do not water Ornata by a fixed schedule. During the rescue period, I watered about once a week because the room was still cool and the pot was not drying fast. In warmer, brighter conditions, it may need water sooner.
My rule is simple: the mix should stay lightly moist, but the pot should not feel heavy and wet all the time. If the leaves are drooping but the soil is still wet, I do not add more water immediately. I check airflow, roots, and soil structure first. For a fuller watering routine, see my Calathea watering guide.
Light
Calathea Ornata does best in bright indirect light. My rescue plant recovered near a north-facing window, which gave it soft light without stressing the damaged leaves.
Too much direct sun can mark the leaves and make the stripes look washed out. Too little light slows recovery and keeps the soil wet for longer. If your room is dim, my low light Calathea care guide explains how I adjust watering and expectations.
Soil
For Ornata, I want soil that holds some moisture but still lets air reach the roots. A dense mix can stay wet too long, especially after repotting or in early spring when growth is still slow.
If I were repotting a stressed Ornata again, I would use a light mix with coco coir or peat, perlite or pumice, and some fine bark. My best soil for Calathea guide goes deeper into mix structure and drainage.
Fertilizer
I do not fertilize a stressed Ornata right away. If the plant has pests, weak roots, or drooping damaged leaves, fertilizer is not the first fix.
Once my plant was stable and producing new growth, I started using very diluted fertilizer water during the growing season. That worked better than feeding heavily from the beginning. For a simple schedule, see my Calathea fertilizer guide.
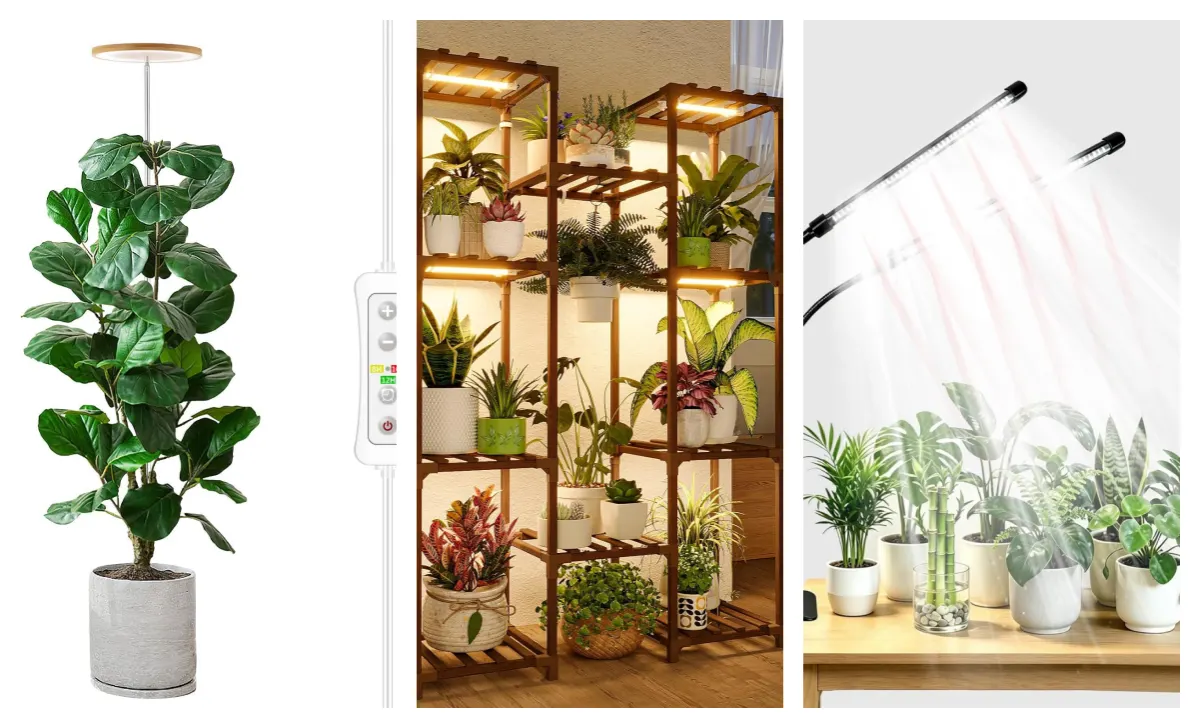
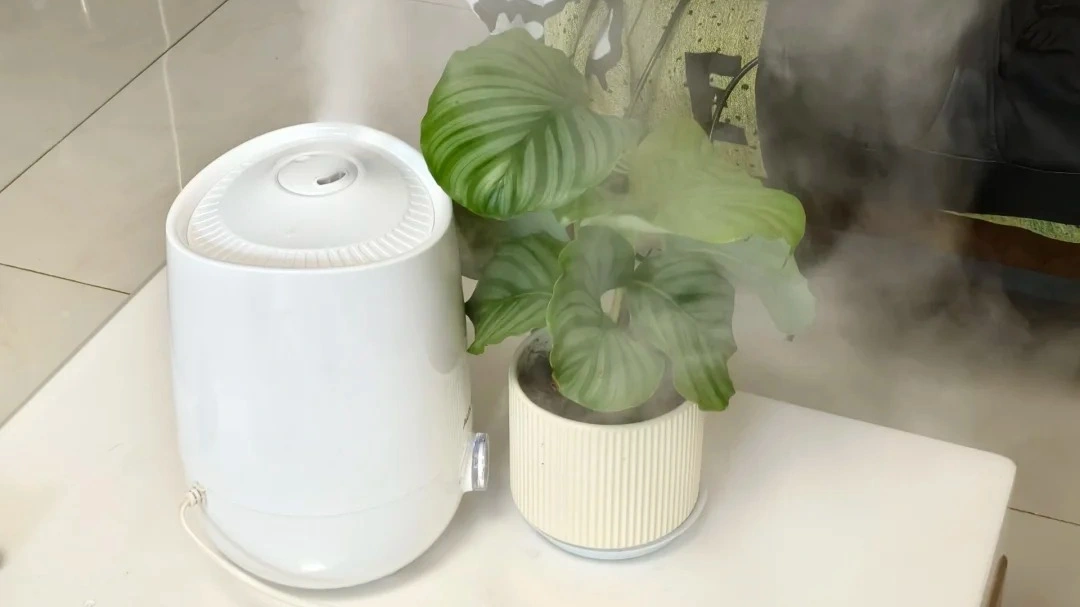
Humidity
Humidity helps Ornata, but I would not make it the only focus. In my rescue case, airflow and pest control mattered more than pushing humidity higher and higher.
If your home is very dry, a small humidifier can help reduce crispy edges. But if the pot is staying wet or the leaves keep declining, humidity alone will not solve the problem. My Calathea humidity guide explains what actually helps indoors.
Common Problems I Watch for on Calathea Ornata
With Ornata, I try not to diagnose from one leaf. I look at the whole pattern: old leaves, new leaves, soil moisture, pests, and whether the plant is still pushing growth.
- Faded stripes: Older pink stripes can naturally soften toward white, so I do not panic over one older leaf. If new leaves also look dull, I check light, feeding, and overall growth.
- Crispy brown edges: Dry air and mineral-heavy water can cause this, but roots staying too wet can also make leaves dry at the edges. If the pot feels heavy, I check soil and roots before simply adding more humidity. My yellow and brown Calathea leaves guide covers these patterns in more detail.
- Drooping leaves: If the soil is dry and the pot is light, the plant may need water. If the soil is wet, drooping can point to root stress, cold conditions, or poor airflow. Compare symptoms in my Calathea curling and drooping guide.
- Pest damage: This was part of my rescue case. I pay close attention to the undersides of leaves, new growth, and any fine speckling or sticky residue.
- Weak new growth: If new leaves are small, damaged, or slow to open, I check light, roots, and whether I started feeding too early.
If the plant keeps declining despite normal care, I would also compare it with my Calathea root rot symptoms guide and the broader Calathea problems guide.
Repotting and Propagation
Calathea Ornata cannot be propagated from a single leaf cutting. If you want to make more plants, division is the realistic method.
- Best time: Spring or early summer, when the plant is actively growing.
- Propagation method: Divide a healthy clump so each section has roots and several leaves.
- For a stressed plant: I would not divide it. I would repot only if the soil is poor, pests are in the pot, or the roots need checking.
- Pot size: Move up only slightly. A pot that is too large can stay wet for too long.
For the step-by-step method, use my Calathea propagation guide.


FAQ
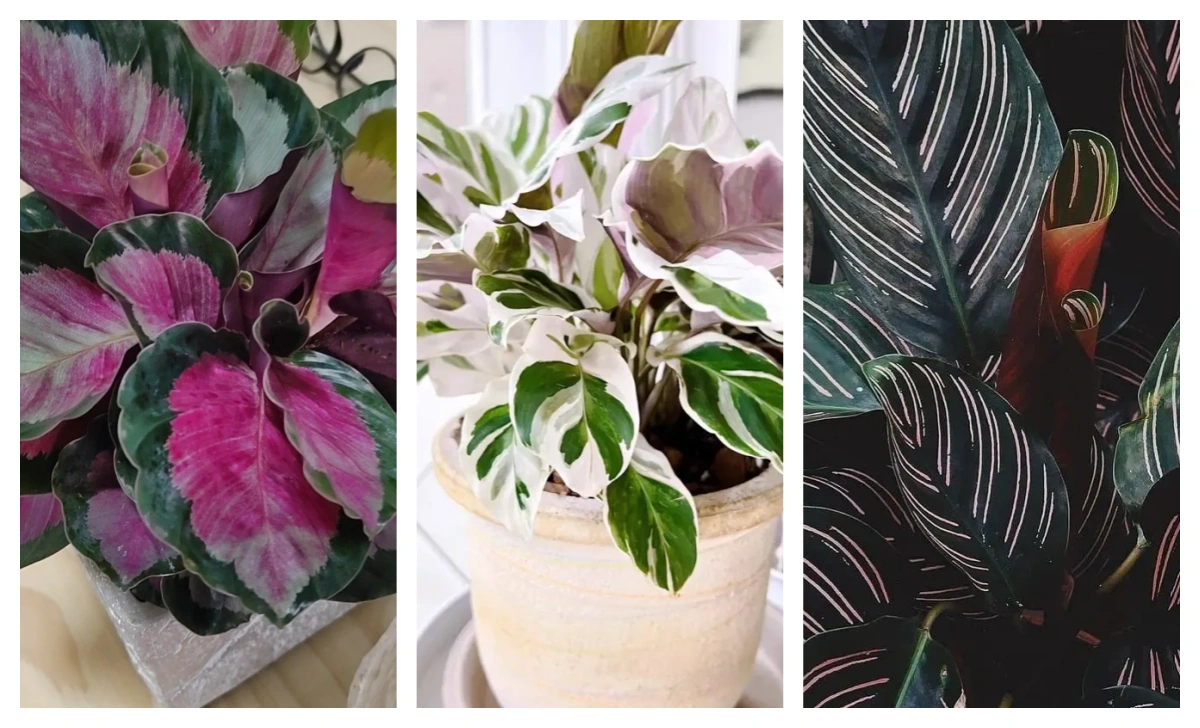
Explore More Calathea Varieties
Looking to discover more beautiful Calathea plants?
Browse our full collection of Calathea varieties — from the bold Orbifolia to the velvety Warscewiczii — and find the one that fits your home best.