When Calathea leaves start turning crispy or dry at the edges, the patterns usually tell you exactly what went wrong. Here’s the fastest way to read those signs:
- Crispy brown edges → Dry air
Thin, paper-like edges almost always point to humidity issues. - Crispy + yellowing + wet soil → Root stress / early rot
The soil is holding moisture longer than the roots can handle. - Crispy tips only → Mineral buildup from water
Hard tap water or fertilizer salts often show up as tip burn first. - Crispy only in summer → Light or heat damage
Direct sun, window glare, or warm airflow can scorch the edges.
If you match even one of these patterns, you already know your starting point. From here, the rest of the guide helps you understand why it happened and what to fix first.
Understanding Crispy Edges

Crispy or dry edges on a Calathea aren’t a disease — and they’re not always a simple “you didn’t water enough” problem.
They’re almost always a sign of transpiration imbalance: the plant is losing moisture faster than it can move water to the leaf edges.
Calatheas have a higher transpiration rate than most houseplants.
To keep their leaves smooth and hydrated, they rely on:
- Stable air humidity
- Even, steady moisture in the soil
- Good oxygen flow around the roots
When any part of that balance slips, the plant reacts the only way it can:
it closes its stomata to prevent further water loss.
And when stomata close, the leaf edges — the thinnest, most exposed part — are the first to dry out, curl, and turn crisp.
Why This Happens So Easily in My Seattle Home
Seattle is known for its rain, but indoor winter air tells a different story:
- My home humidity drops to 38–42% every winter
- Heating makes the air even drier
- Night temperatures fall a few degrees
- The sudden “dry + cool + heated airflow” combination disrupts transpiration instantly
When the air shifts like this, Calatheas shut down their stomata to conserve moisture.
But once those stomata close:
- Water supply to the edges slows
- Cell pressure drops
- The thin outer margins dry out first
That’s why leaf edges always show damage before the rest of the leaf.
Heating: The Silent Culprit
Heaters don’t just warm the room — they:
- Drop humidity
- Create warm, fast-moving air
- Increase leaf-level evaporation
- Cause “localized drought” at the edges even when soil is moist
So crispy edges often mean:
“The air dried out faster than I could keep up.”
👉Crispy edges are a transpiration problem, not a watering problem. The environment changes first — the leaves suffer after.
The Real Reasons (Ranked by How Often They Actually Happen)
Crispy edges don’t come from one single cause — they’re the outcome of several environmental stresses stacking up.
Here are the real triggers, ranked by how often I see them in my own home and in reader messages.
① Dry Air (by far the most common)

Calatheas lose moisture fast when humidity drops below 45%.
In my Seattle apartment, I see two very different humidity seasons:
- Summer: usually 55–65% indoors
- Winter: often 38–42%, even lower near heaters
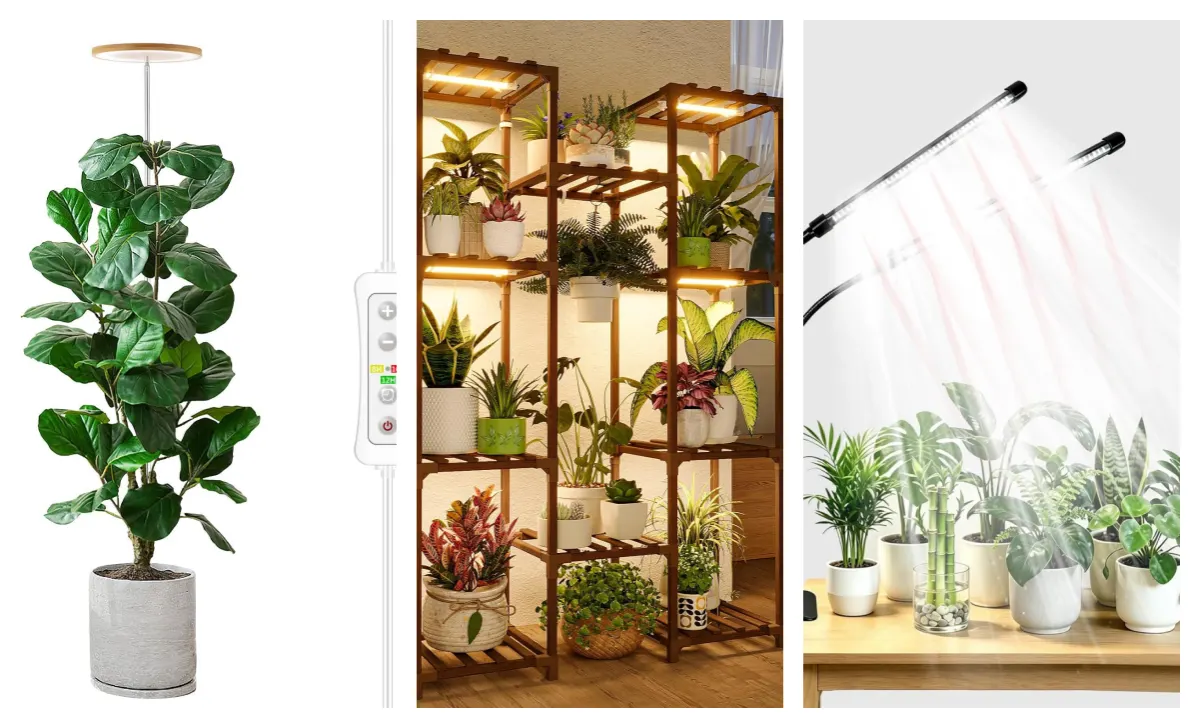
Whenever humidity dips into the 30s, the first sign is always the same: thin, paper-like edges that crisp and curl inward. If your room keeps dropping into the 30–40% range, I would measure first before guessing. I explain when a humidifier is actually worth buying in my guide on whether Calatheas need a humidifier.
Dry air doesn’t just remove moisture — it forces the stomata to close,
cutting off water supply to the leaf margins.
Once that happens, the edges dry out no matter how moist the soil is.
② Water Stress (too dry, too wet, or uneven moisture)

This is the second most common issue I see, especially in pots with heavy mixes.
Calatheas need consistent moisture, not extremes.
Two patterns show up over and over:
- Overdry: soil dries completely between waterings → edges crisp first
- Overwet: top layer dry but lower layer soggy → roots stressed → leaf edges die off
That “dry on top, wet at the bottom” scenario is classic in shallow watering or dense store-bought soil. Roots can’t breathe, and the leaf margins are the first to show the stress. If your mix dries unevenly or stays wet at the bottom, the soil may need more bark, pumice, or perlite. I put together a practical guide to store-bought soil for Calathea if you want an easier mix without starting from scratch.
③ Water Quality (mineral buildup and salt stress)

Crispy tips — not the whole edge — often point to minerals in tap water.
I’ve tested:
- Seattle tap water(higher TDS than expected)
- Filtered water
- Collected rainwater
The difference is surprisingly visible.
With tap water, new leaves grew with:
- light brown tips
- slightly dull texture
When I switched to filtered or rainwater, the next two leaves had zero tip burn.
Minerals accumulate slowly, so this one is sneaky — you don’t see it until several leaves later.
④ Light & Heat (summer glare or winter heater airflow)

Crispy edges just in summer?
Most likely light or heat exposure.
Calatheas tolerate bright light, but:
- direct sun
- window glare
- hot air blowing from heaters
- heat from south-facing windows
…can dehydrate leaf margins faster than the plant can compensate.
In winter, heater vents are the silent culprit: warm, fast air strips moisture from the edges within days.
⑤ Fertilizer Salt (mild burn, especially on tips)
This one is less common but easy to recognize:
- tips turn brown,
- edges stay mostly okay,
- the rest of the leaf looks normal.
It’s usually caused by:
- over-fertilizing
- not flushing the soil
- using fertilizer too late in the season
Calatheas are sensitive to salts, so even “normal strength” fertilizer can cause tip burn if the soil is already mineral-heavy. If tip burn keeps showing up after feeding, I would cut back and use a gentler schedule. I explain what I use and when I would skip feeding in my guide to the best fertilizer for Calathea.
👉Crispy edges almost always come from dry air, moisture imbalance, poor water quality, heat, or salt buildup — and usually a combination of two or three.
How I Fixed Crispy Edges at Home
I’ve dealt with crispy edges more times than I’d like to admit.
Seattle’s climate sounds humid on paper, but indoor winter air tells a very different story — dry heat, low light, and big day-to-night swings.
After a few bad winters, I eventually settled into a routine that stopped the crisping almost completely.

Here’s exactly what worked for me.
Step 1 — Checked the actual humidity (it explained everything)
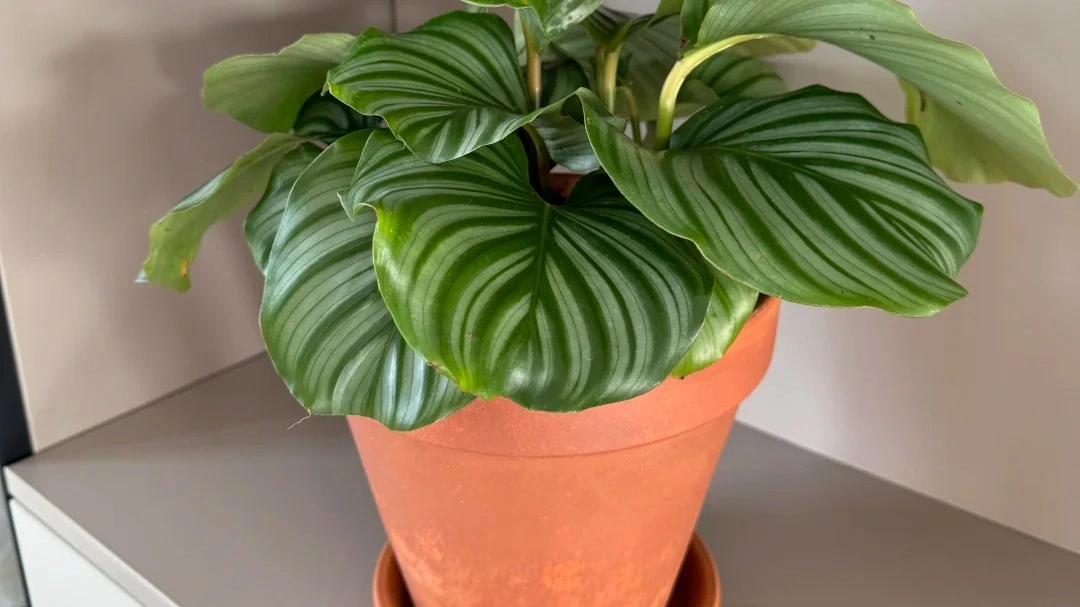
The day my Orbifolia started crisping, I finally checked the hygrometer sitting on my shelf.
- Reading: 38–41% (much lower than I assumed)
- The plant was right next to a baseboard heater
- Airflow was warmer and drier than the rest of the room
Once I saw the number, the symptoms made sense.
Calatheas do best at 45–60%, so mine had been sitting in “crispy zone” for weeks.
Step 2 — Moved the plant away from heat and glare
I didn’t use a humidifier right away.
The first thing I changed was the location:
- Moved it away from the heater vent
- Pulled it back from the window where winter glare was hitting
- Set it in a steady, north-facing corner with gentler airflow
Within a week, the crisping slowed noticeably.
Calatheas don’t need dramatic changes — just a stable pocket of air.
Step 3 — Switched from tap water to filtered water
This was the second turning point.
Seattle tap water isn’t terrible, but the TDS is high enough to cause tip burn on sensitive plants.
I switched to:
- Filtered water for regular watering
- Rainwater when I had it
The next two leaves grew with zero brown tips, which had never happened with tap water.
Step 4 — Adjusted my watering routine for winter vs. summer
My old habit was watering “once a week no matter what.”
That schedule was one of the reasons the edges kept crisping.
Now I water based on season + soil feel:
Winter
- Soil stays moist longer
- I water every 10–14 days
- Smaller amounts
- No soaking unless the plant is actively growing
Summer
- Soil dries much faster
- I water every 5–7 days
- Slightly deeper watering
- Avoid any direct afternoon sun that speeds evaporation
This “seasonal rhythm” keeps roots breathing instead of swinging between swampy and bone-dry.
Step 5 — Switched to a more breathable mix
The last fix was my soil.
The bagged mix I used early on was too heavy — the top dried fast, but the bottom stayed wet.
I switched to a light, breathable aroid-style blend:
- Fine bark
- Perlite
- Coco coir
- A bit of regular potting mix for moisture retention
With this mix, water sinks evenly, the roots get more oxygen, and the edges simply stop dying off from stress.
The result

After these changes:
- New leaves grew with no crispy edges
- Existing damage stopped spreading
- The plant recovered faster than expected
For me, these five steps fixed the issue far more consistently than any “trick” or one-off adjustment.
How a Denver Home Saved a “Crispy” Calathea
📍 Location: Denver, Colorado — a famously dry, high-altitude city where indoor humidity often drops below 35%.
A reader from Denver wrote to me with a Calathea that had been perfectly fine for two years — until one summer, when the leaf edges suddenly began drying, curling, and browning inward “as if the plant had been scorched.”
She watered once a week, kept it in the same bright living-room corner, and nothing in her routine had changed.
Yet the plant looked like it was fading right in front of her.
Here’s the full recovery story she shared.
What She Did
1. Cut off all damaged leaves
“The leaves were too far gone, so I removed everything and let the plant restart from the root.”
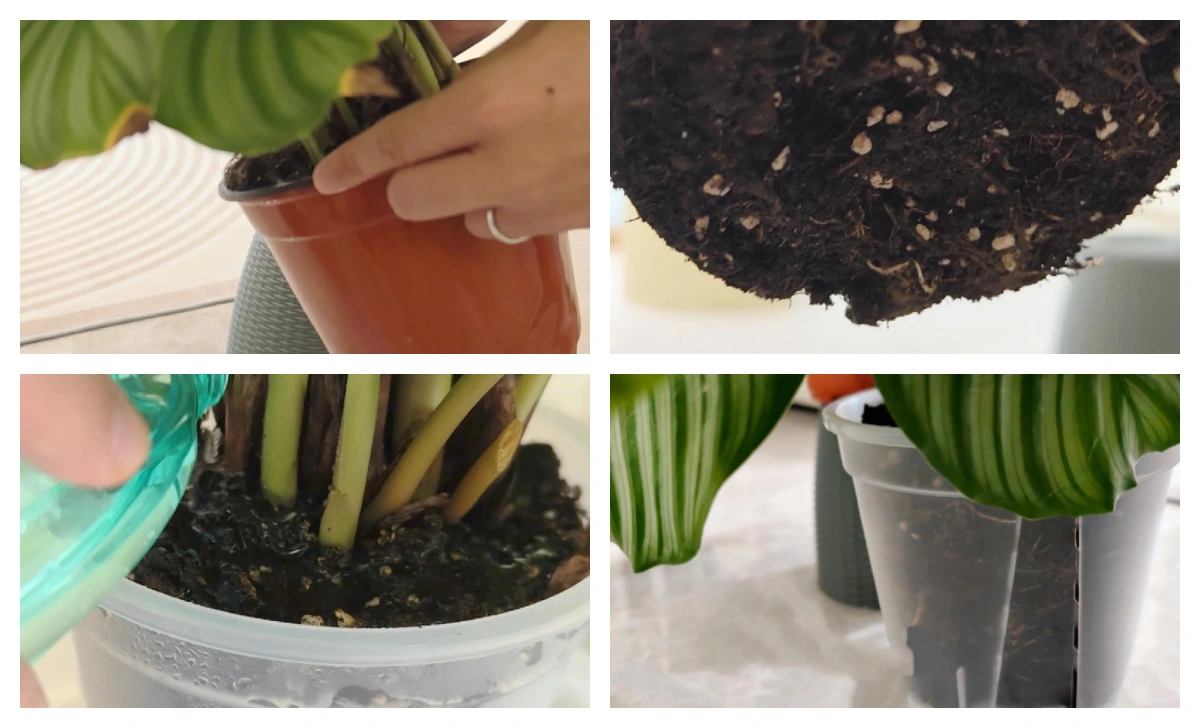
2. Repotted the plant — and discovered the real problem
When she dug the plant out of the pot, the situation became clear:
- The top layer of soil was hard and compacted
- The lower layer was wet, even slightly musty
- The pot was too deep, with poor aeration
- The older roots had very little oxygen
This is also why I do not choose pots by appearance alone. A pot that is too deep or slow to dry can keep the lower root zone wet for too long. I compare better options in my guide to the best pots for Calathea.
So she:
- Let the roots dry gently in a shaded area
- Let the pot dry completely
- Repotted using a light, airy aroid-style mix that drains instantly
3. Moved it to a north-facing room with ventilation
“No sun, no heat — just steady airflow.”
She said this step mattered just as much as changing the soil, especially in Denver’s dry climate.
4. Adjusted her watering routine
- Watered once every two weeks, with very small amounts
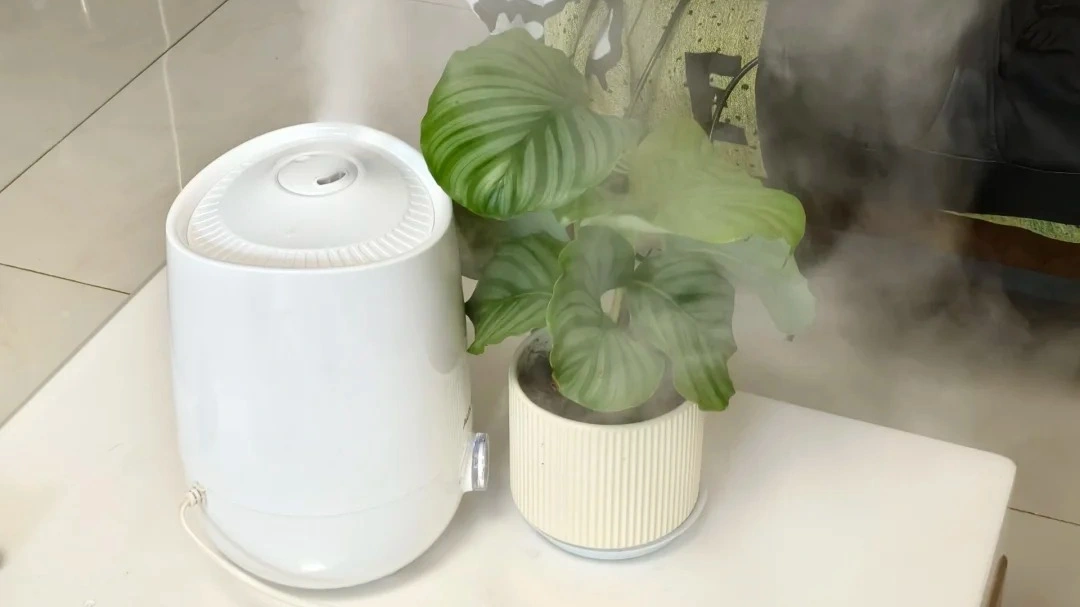
- But misted the leaves lightly during the day to keep the surface hydrated
Her observation was interesting:
“Keeping the soil wet made things worse. New growth appeared only when the environment was slightly drier and more stable.”
5. Fertilized only lightly, and only a few times
She tried liquid fertilizer two or three times, but saw little improvement.
Compared to that:
- Fresh soil made a much bigger difference
- Light or no fertilizer was safer, avoiding salt stress on new shoots
What Happened Next
She repotted in late March, right as Denver’s spring temperatures began to rise — and the timing helped.
- New shoots appeared within one to two weeks
- Over the next few weeks, three new leaves emerged with zero crispy edges
- Even though the humidity stayed low, it remained stable — which Calatheas tolerate surprisingly well
- By early summer, the plant had fully recovered
“As I was doing all of this, I honestly didn’t expect it to survive,” she wrote.
“But it did — and now it looks better than before.”
FAQ
But the goal is to stop the damage from spreading.
When the environment becomes stable (humidity above 45%, no direct heat, even soil moisture), new leaves will grow healthy again.
Still worried about your plant?
👉 For more tips on keeping your plant healthy, explore our Complete Calathea Care Guide.
Explore All Problems →