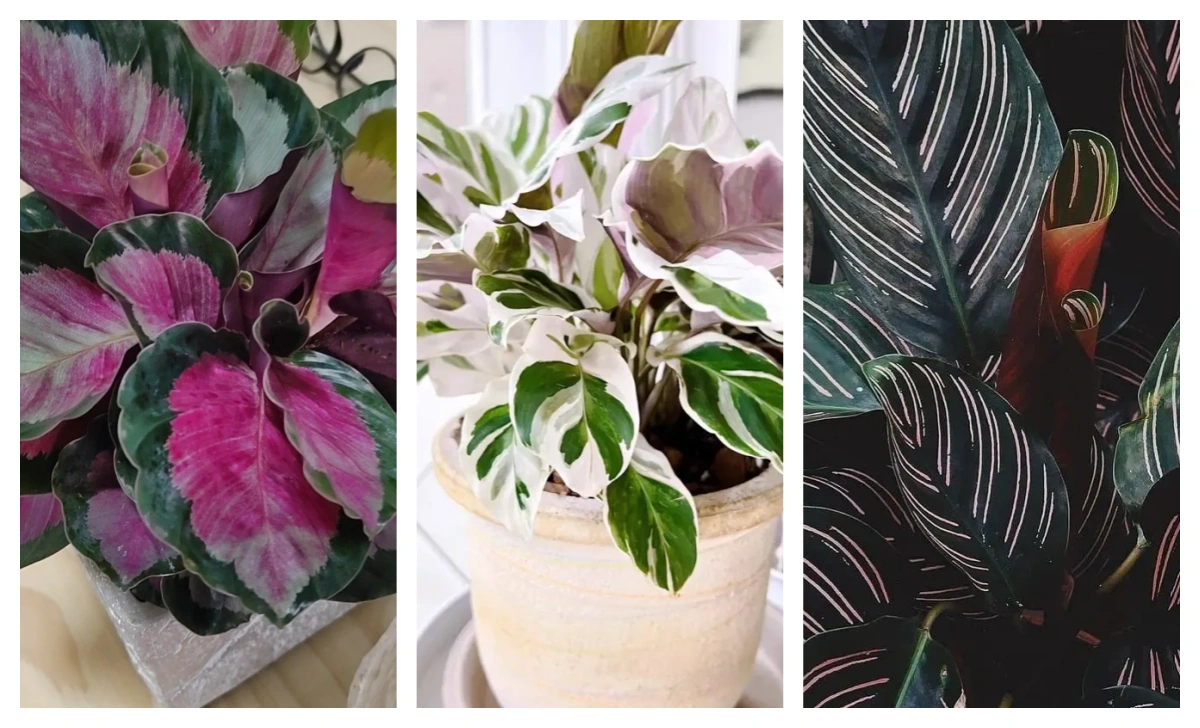
Calatheas have a dramatic way of asking for help.
One day they’re lifting their leaves like nothing can stop them; the next, they look collapsed, crispy, or half-melted — as if someone swapped your plant for a dying imposter overnight.
If you’re staring at a Calathea that seems to be giving up, I promise you’re not alone.
Every plant owner eventually hits this moment: the drooping, the brown edges, the stillness, the “I swear it was fine last week” panic. And because Calatheas react so quickly to stress, it’s easy to assume the worst.
But here’s the part most people don’t realize:
A Calathea can look absolutely gone on the surface and still be fully alive at the crown and roots.
What looks like “dying” is often a mix of shock, dehydration, root stress, or environmental swings — all of which can be reversed if you act early and give the plant the right recovery conditions.
I’ve revived Calatheas that froze outside during a sudden Seattle cold snap.
I’ve brought back plants with crispy edges, stalled growth, and stems that looked beyond saving.
I’ve seen readers rescue Calatheas from compacted soil, root rot, and months of dryness in climates far harsher than mine.
So if your plant looks terrible right now, take a breath.
Most Calatheas aren’t dying — they’re overwhelmed. And overwhelmed plants can recover.
This guide walks you through how to tell the difference, why Calatheas “crash” so fast, and the exact steps that brought mine (and many readers’) back from the brink.
Let’s start with the most important question:
Is your Calathea truly dying, or is it just asking for a reset?
How to Tell If Your Calathea Is Actually Dying
Calatheas are expressive plants — they droop, curl, and fold at the slightest environmental change.
Most of the time, those dramatic reactions are reversible.
But a dying Calathea behaves in a very specific way.
Here are the signs I use at home to distinguish a plant that’s simply stressed from one that’s genuinely in trouble:
1. No movement at all for 7–10 days
A healthy or even stressed Calathea still shifts slightly day to day — leaves lift in the morning, unfurl a little more, or respond after watering.
A dying one becomes completely still.
2. New leaf stuck in the sheath
New leaves should always be pushing upward.
If a leaf stays trapped for weeks with no progress, the plant doesn’t have the strength or hydration balance to grow.
3. Stem base feels soft, mushy, or translucent
This almost always means early root rot or severe root stress. Here’s a full list of root rot symptoms if you’re unsure.
Firm stems = recoverable. Mushy stems = trouble.
4. Soil smells sour, muddy, or “old water”
Healthy Calathea soil has a neutral, earthy smell.
A sour odor means oxygen is gone from the root zone — a classic dying sign.
5. Drooping even when the soil is moist
This is one of the clearest red flags.
Stressed plants perk up after watering.
Dying plants don’t, because the roots can no longer move water upward.
6. Multiple leaves dying within the same week
One yellow leaf is normal.
Two or more mature leaves declining at once usually means systemic stress.
7. No growth during the growing season
Spring and summer should always bring movement — at least one leaf, one shoot, or some upward lift.
If nothing happens for months, something deeper is wrong.
Why Calatheas Decline the Way They Do
Calatheas crash fast because their entire health depends on one fragile chain, Sudden dehydration or irregular watering is also a very common trigger:
roots take up water → stems move it upward → leaves release it through transpiration.
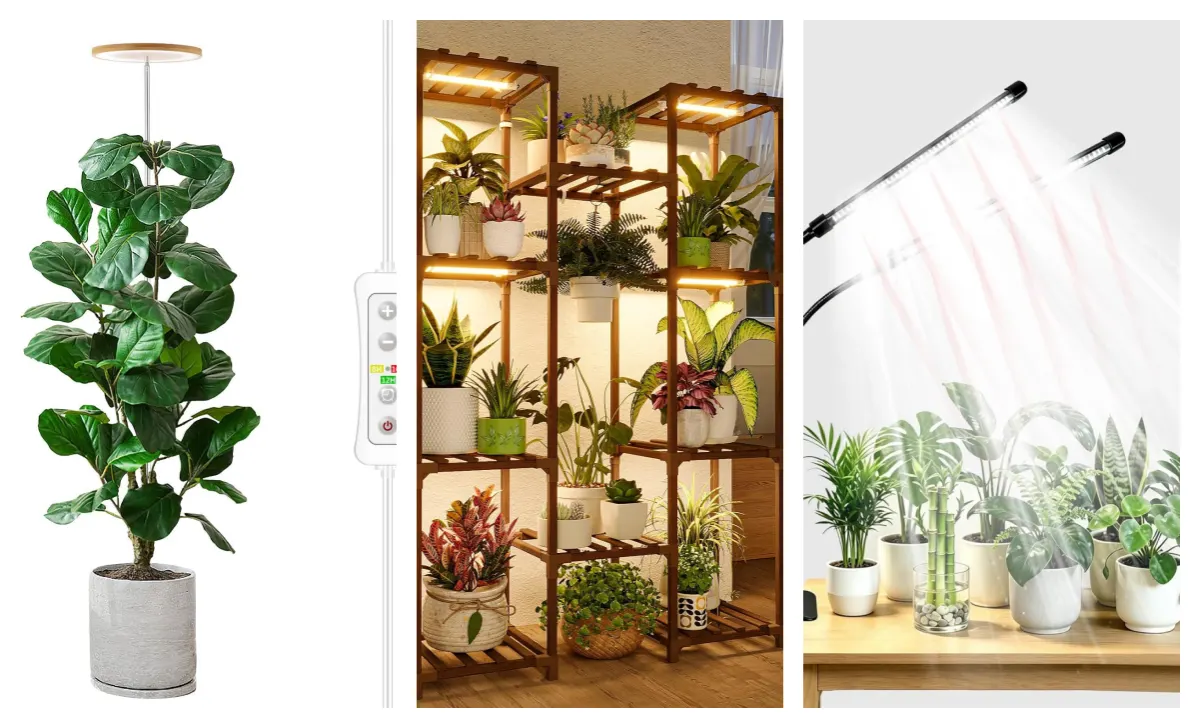
When humidity drops, soil compacts, or temperature swings, this chain breaks almost instantly. For compacted mixes, this soil guide explains what to use instead. The stomata on the leaves shut down to prevent moisture loss, the roots struggle to move water without enough oxygen, and the plant has no “buffer time” like thicker-leaved houseplants.
In my Seattle winters — indoor humidity hovering around 38–42% with the heater running — this break happens quickly: edges crisp, leaves stall, and new growth stops. It’s not dramatic behavior; it’s simply the plant losing its ability to move water smoothly through its system. Fix the environment, and that chain reconnects just as fast. If humidity is unstable, this guide explains the safe range and fixes.
My Real Recovery Attempt at Home
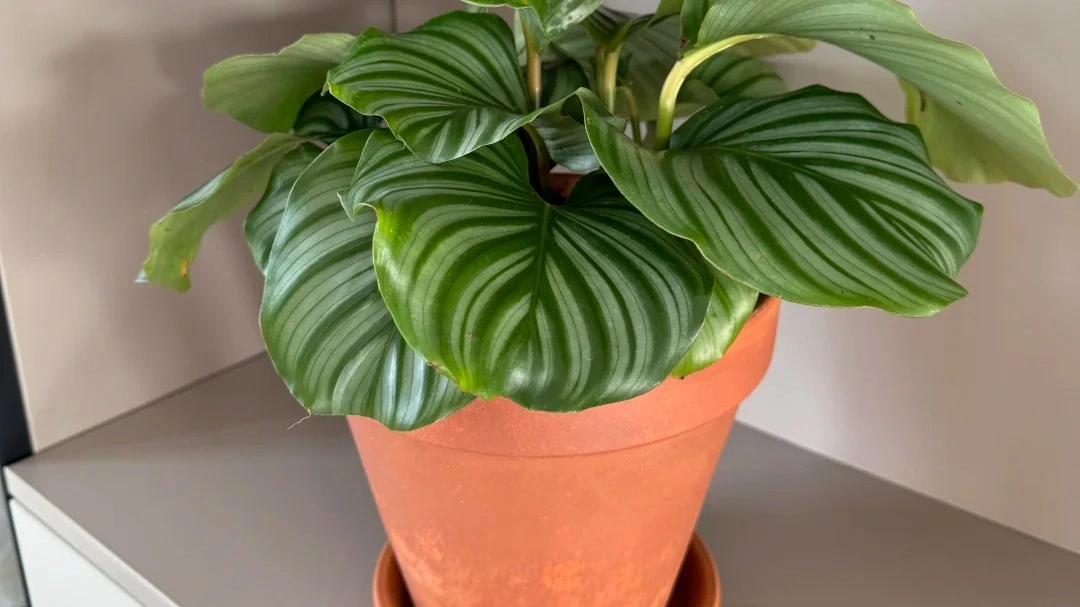
My worst Calathea scare happened this past winter.
At the end of December, Seattle had one of those sudden temperature drops — the kind where the air turns sharp overnight and anything left outside pays for it the next morning. My Calathea “Green Apple” was one of the victims. I had placed it outdoors earlier that week thinking the cool air might help, but the unexpected freeze hit before I could bring it back in.
By morning, the entire plant had collapsed.
Every leaf was limp, translucent at the edges, and curling inward as if trying to escape the cold. The stems felt half-mushy. It looked, in every possible way, gone.
 1")
I tried gentle fixes for a few days — shifting its light, adjusting watering, giving it airflow — but nothing changed. At some point I realized the leaves were too damaged to help the plant recover. The only part that still felt firm was the crown buried in the soil.
So I made a decision I don’t make often with Calatheas:
I cut everything back.
I trimmed the plant down to the soil line, leaving only the living crown beneath the surface. Then I checked the soil. It was cold, compacted, and unevenly moist from the freeze, so I loosened the top layer, kept the mix lightly damp (never wet), and moved the plant indoors.
I placed the pot in a quiet corner with bright, indirect light — the kind of stable spot that doesn’t change much from morning to night. And then, honestly, I just waited.
Seattle’s winter slowly softened into early spring.
One morning, I noticed a tiny pale-green point pushing up from the crown.
A week later, there were two more. These new leaves were small at first, softer and thinner than the old ones, but they were clean — no crisping, no burning, no freezing scars.
 2")
By early spring, the plant was clearly determined to live.
It kept producing new shoots as soon as the temperatures steadied and the root zone warmed. Watching each leaf open felt like the plant rewriting its own story from scratch.
What this taught me is simple but important:
A Calathea can look absolutely destroyed on the surface and still have a perfectly alive crown and root system underneath.
Freeze damage isn’t the end.
Crispy leaves aren’t the end.
A “dead-looking” plant often just needs stability, warmth, and time.
 3")
This revival changed the way I judge whether a Calathea is truly dying. Now, when one crashes, I look deeper: the crown, the firmness of the stems, the smell of the soil — not the state of the leaves. Leaves can always grow back. A living crown just needs the right environment to try again.
Real Reader Case: Two “Green Apple” Calatheas, Two Completely Different Recoveries
One reader shared a story that still sticks with me because it perfectly shows how environment and pot choice can change the entire recovery path of a Calathea—even when the plants start from the exact same place.
In early March, she brought home two Calathea “Green Apple” plants.
One went into a terracotta pot and stayed with her at home;
the other went into a white ceramic pot and lived on her office desk.
Within a month, both plants fell apart.
The leaves crisped so badly that they no longer looked like Calatheas—just tired, brown-edged fans that wouldn’t unfurl. At that point, she assumed both were on their way out.
So she unpotted them.
And what she found surprised her: the roots weren’t dead, just messy—some were black and slimy, others firm and white. She washed both root systems clean and placed the plants in water temporarily, just to see what would happen next.
The differences started almost immediately.
The Home Plant (Terracotta): Slow, Steady, and Determined
The plant at home began growing new white roots first, even while in water.
She kept it in a quiet bathroom spot—literally sitting on top of the toilet tank—where it received soft, indirect light and a stable humidity level.
 4")
By May 7, it had developed a healthy cluster of new roots and three small new shoots.
The old leaves were gone; she had trimmed every crispy edge and cut off the blackened, tangled roots.
But the plant was clearly building itself back from the inside out.
By May 24, it had already produced two new leaves—smaller than before, but clean, smooth, and completely free of crisping. Three more shoots were on the way. At that point, she transitioned it back to soil using the same terracotta pot and her own airy soil mix.
Fast-forward to November 4:
the home plant had six full leaves, stable growth, and a completely rebuilt root system.
It wasn’t just alive—it was thriving.
The Office Plant (Ceramic): Alive, but Always Behind
The office plant also survived its water-culture phase, but the environment worked against it.
The leaves stayed much smaller, and growth was slow and hesitant.
Office air was drier, the light more inconsistent, and the ceramic pot didn’t provide the airflow that terracotta naturally offers.
 5")
Still, the plant made it.
It rebuilt itself in its own slower way—proving that even suboptimal conditions don’t always mean failure.
The Lesson Both Plants Taught
Despite radically different environments, both Calatheas survived because she did three things right:
- She reset the roots completely
- She kept the early recovery environment stable
- She didn’t rush the plants back into heavy soil
What this reader learned—and what her plants demonstrated beautifully—is something I’ve seen again and again:
Calatheas don’t need perfection.
They need oxygen at the roots, steady moisture, and time.
Give them those three, and even the scrappiest-looking plant can surprise you.
Step-by-Step Revival Guide (What Actually Works)
Reviving a Calathea isn’t about doing ten things at once — it’s about restoring the plant’s ability to move water smoothly again.
These are the steps I follow whenever one of mine crashes, based on experience from Seattle winters, freeze damage, root resets, and reader recoveries.
Step 1 — Remove the Dead Weight (Trim All Irreversible Damage)
Crispy, frozen, or collapsed leaves never recover. Leaving them on only drains the plant’s limited energy.
Use clean scissors and remove:
- fully collapsed leaves
- leaves with >50% damage
- stems that feel mushy at the base
Why this matters:
Healthy crowns and roots can push new growth, but they shouldn’t waste resources trying to support dying tissue. Both my own freeze-damaged plant and the two-reader “Green Apple” case only started growing once the old leaves were removed.
Step 2 — Unpot the Plant and Check the Root System
This is the turning point. A Calathea can look dead but have living roots, or look okay but be collapsing from below.
When you take it out of the pot, look for:
- Healthy roots: firm, pale, smooth
- Stressed roots: soft but not smelly
- Rotten roots: brown/black, mushy, foul odor, collapse when pinched
If the roots are mostly healthy → skip to Step 4.
If there’s rot or compaction → continue to Step 3.
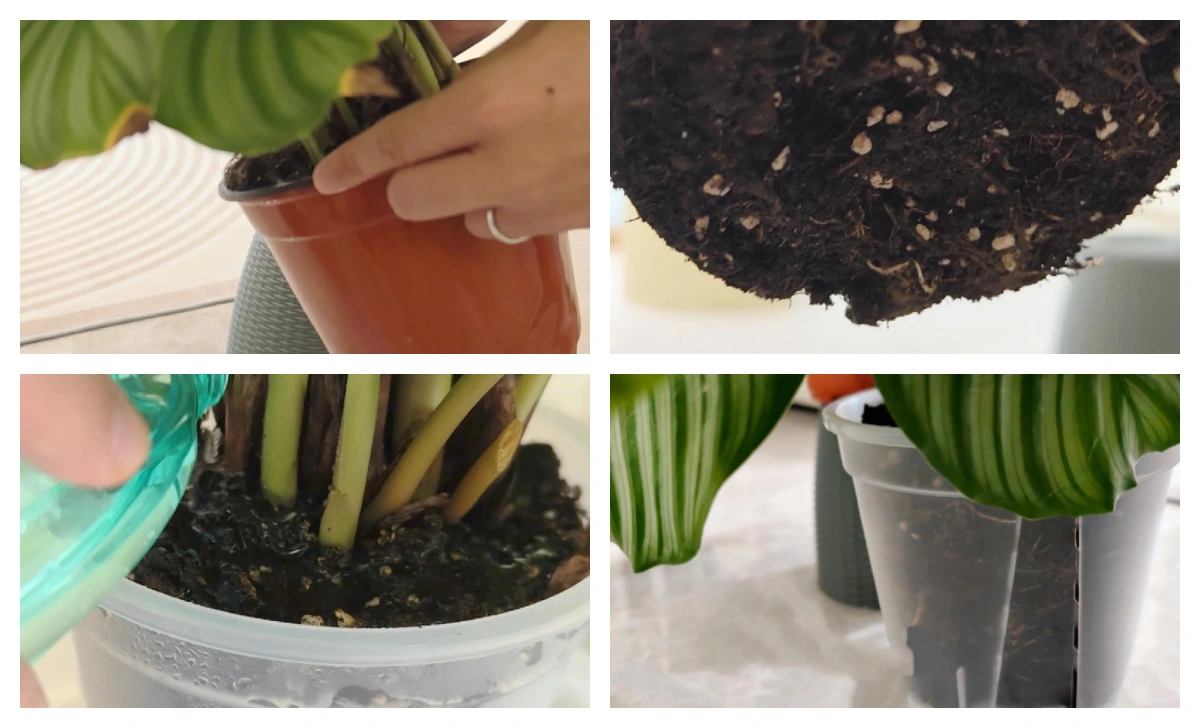
Step 3 — Wash, Reset, and Trim the Roots
Rinse the root ball under lukewarm water to remove old soil. This reveals where rot or suffocation is happening.
Trim all rotten portions — even small questionable pieces.
 6")
My rule remains the same every time:
Don’t be sentimental — rot spreads.
After trimming, let the roots air dry for 20–40 minutes in a shaded place.
This reduces infection risk and gives the remaining roots a “reset moment.”
For severely stressed plants, a brief water-culture phase (1–2 weeks) lets new white roots emerge before repotting — just like the reader’s two revived plants.
Step 4 — Repot Into an Airy, Fast-Draining Mix
Calatheas die more from lack of oxygen than lack of water.
Use a mix that:
- drains quickly
- stays lightly moist
- doesn’t compact after a few weeks
 7")
Think:
- fine bark
- perlite / pumice
- a lightweight base soil
- optional coco coir for stability
Terracotta works beautifully for recovery because it breathes on all sides (your reader case proves this clearly).
Avoid:
- heavy potting soil
- deep pots
- ceramic containers with poor airflow
Step 5 — Establish the “Recovery Environment”
After repotting, the environment matters more than the soil.
Give the plant:
- bright, indirect light (no direct sun)
- stable temperature (18–24°C; avoid night drops)
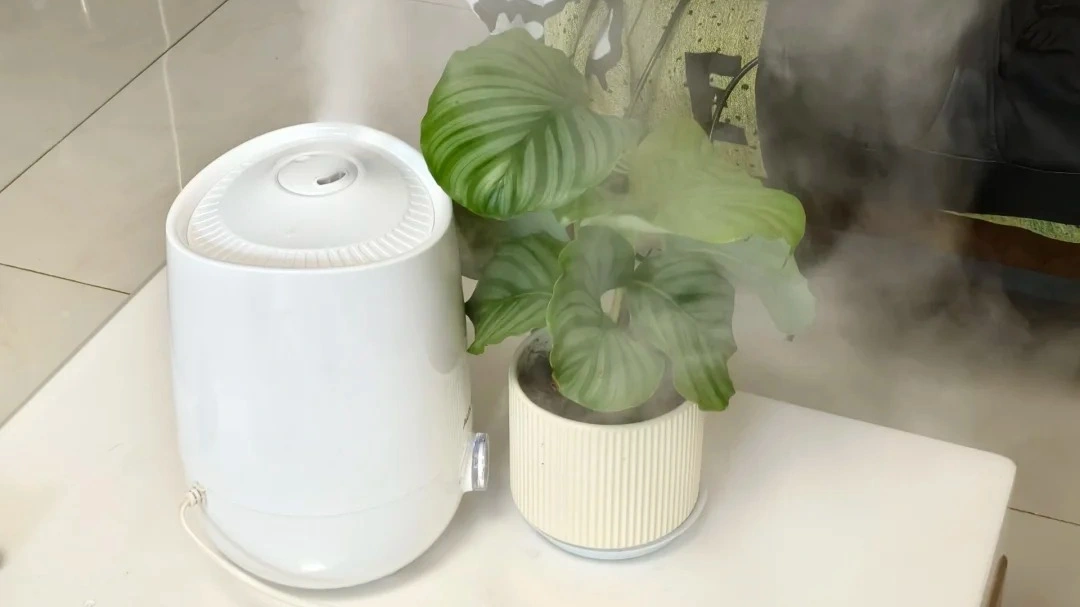
- humidity 45–60%
- gentle airflow, but no heater vents
- zero fertilizer for at least 6 weeks
Place it somewhere that does not change from morning to night.
Many recoveries happen in bathrooms, north-facing rooms, or corners with steady ambient light — exactly like your reader’s toilet-tank setup. Details on the ideal light range are here.
Step 6 — Water on a “Light but Consistent” Schedule
The number one mistake is overwatering during recovery.
For the first 3–4 weeks:
- keep the soil lightly moist, not wet
- water with filtered or rainwater if tap water is hard
- never soak the pot
- let the top 2–3 cm dry before watering again
A plant with damaged roots cannot handle heavy water loads, but it also shouldn’t dry out completely.
Seattle winters taught me this:
light moisture + warmth = recovery
soggy soil + cold = collapse
Step 7 — Watch for the Signs of Real Recovery
You’ll know the revival is working when you see:
- slight leaf lift within 3–10 days
- firming of stems at the base
- new roots forming (if in water or after unpotting)
- a new leaf spear pushing from the crown
- slower but steady growth over weeks
One new leaf is worth more than ten old crispy ones.
Every revived Calathea I’ve seen — mine or readers’ — starts with one small leaf, often smaller than usual, but clean and full of promise.
 8")
Step 8 — Shift Back to Normal Care Only When the Plant Tells You
Once you see:
- 1–3 new healthy leaves
- consistent upward movement
- roots filling the pot edges again
…you can gradually increase watering and move the plant back to its usual spot.
Never rush this step.
Recovery is slow, but stable progress is still progress.
Mistakes That Make a Dying Calathea Worse
When a Calathea is already declining, a few well-intentioned actions can push it even further down. These are the mistakes that consistently make recovery harder rather than easier.
1. Overwatering during recovery
A weak Calathea can’t absorb water properly. Heavy watering only suffocates the roots and speeds up rot. Light, steady moisture is safer.
2. Using a pot that’s too deep
Deep pots trap hidden wet zones at the bottom. Sick roots can’t handle that. Shallow, breathable pots (especially terracotta) work far better.
3. Heat vents or cold drafts
Warm air dries leaves instantly; cold air slows root function. Either one stops recovery. Dying Calatheas need temperature stability above all.
4. Heavy, compacted soil
Dense mixes hold water too long and starve the roots of oxygen. An airy, fast-draining mix is essential for bringing a stressed plant back.
5. Fertilizing too early
Damaged roots can’t process fertilizer, and leftover salts only burn the tips. Skip all feeding for at least 4–6 weeks.
FAQ
Still worried about your plant?
👉 For more tips on keeping your plant healthy, explore our Complete Calathea Care Guide.
Explore All Problems →